I'm new to the intercom so i don't know what to do.
If anybody can help it's really helpful for me.
I'm new to the intercom so i don't know what to do.
If anybody can help it's really helpful for me.
Best answer by Sam
Product tours are an excellent way to proactively assist customers with navigating your app, guide users who are stuck and announce new features or tell customers about ways to use the product they may not have first considered.
🔗 Relevant Article: https://www.intercom.com/help/en/articles/2900887-design-your-product-tour
Products tours can be created in the Outbound tab on the Tours page.
To create a tour, click "New product tour" in the top right corner. (pictured below)
 You can select a template or start from scratch.
You should then complete these steps before building your tour:
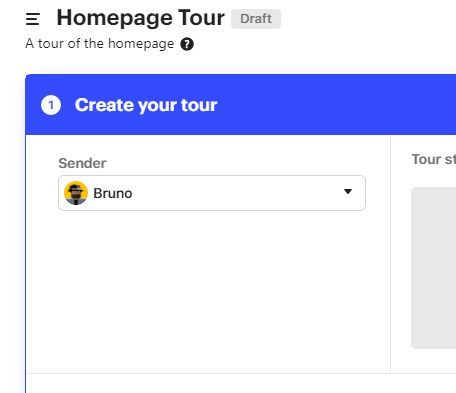 Above you can see my tour with a name, description and sender.
We'll now add the steps to your tour
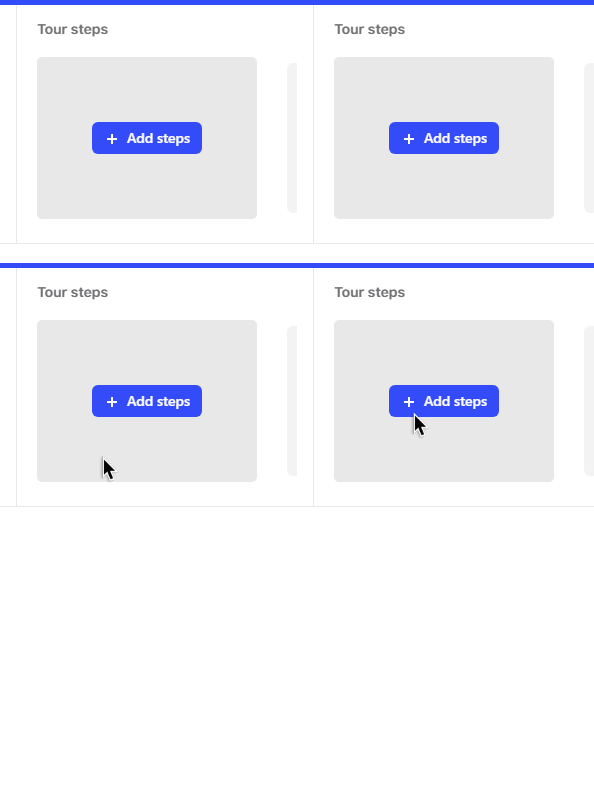 On the pop up that appears, you'll need to enter the URL of the page where you want the tour to occur.
💡 Tip: Be aware that this doesn't have to be the exact page route, as this can be configured in a bit, but a page that is live and has the exact layout you want. This is great for dynamic pages, such as pages with your User IDs/Company IDs in.
Click Open website once you've entered your URL.
Depending on your specific site/web app, you may need to carry out the steps below in a more advanced way. Especially if your site uses dynamic class names. I'd strongly advise giving your most important buttons static HTML IDs, so you can reference them.
Let's say I want users on my site to click the 'Sign up for free' button on my homepage. 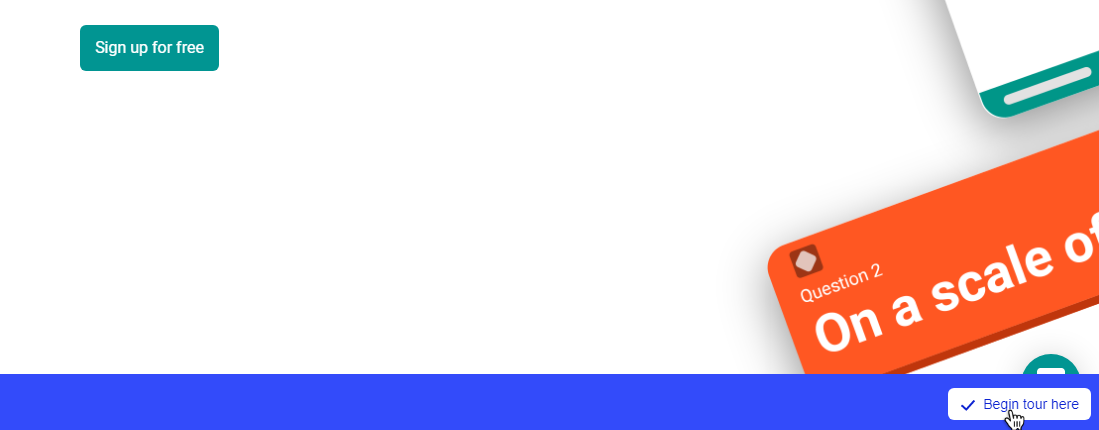 I select "Begin tour here" to tell Intercom I'm ready to commence building the tour.
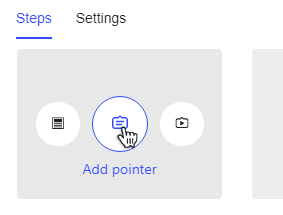 I can then select from
A pointer will be most appropriate for this type of tour, so I'll pick that one.
Once I've selected it, I just move my mouse over the element I want to pick.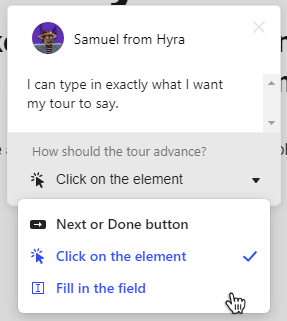 I can then configure the behaviour of the tour.
Once you've finished building your tour, click Save in the bottom right.
You've now built a tour. You can customise where is will send, when it will send and who it will send to in Step 2 of the Outbound campaign creator.
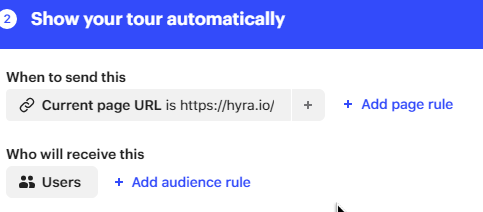
Once you've configured the tour to your liking, click 'Set live'

Hope this helps and I appreciate it's a lot of reading. Happy to assist you further if needed.
Already have an account? Login
No account yet? Create an account
Enter your E-mail address. We'll send you an e-mail with instructions to reset your password.